Transferring cases
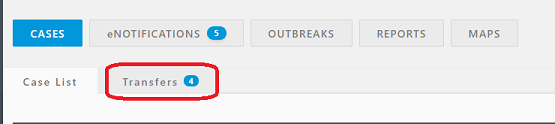
The number beside the Transfers tab heading of the CASES module displays a count of all cases awaiting transfer approval.
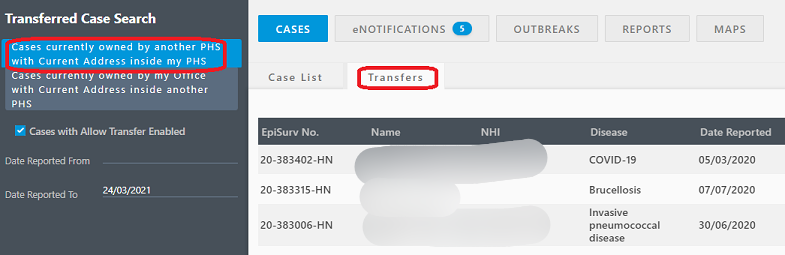
By default, the “Cases currently owned by another PHS with Current Adress inside inside my PHS” search option will be enabled (blue) in the Transferred Case Search panel. This search option displays a list of cases sent to the user’s PHS Office from another PHS.
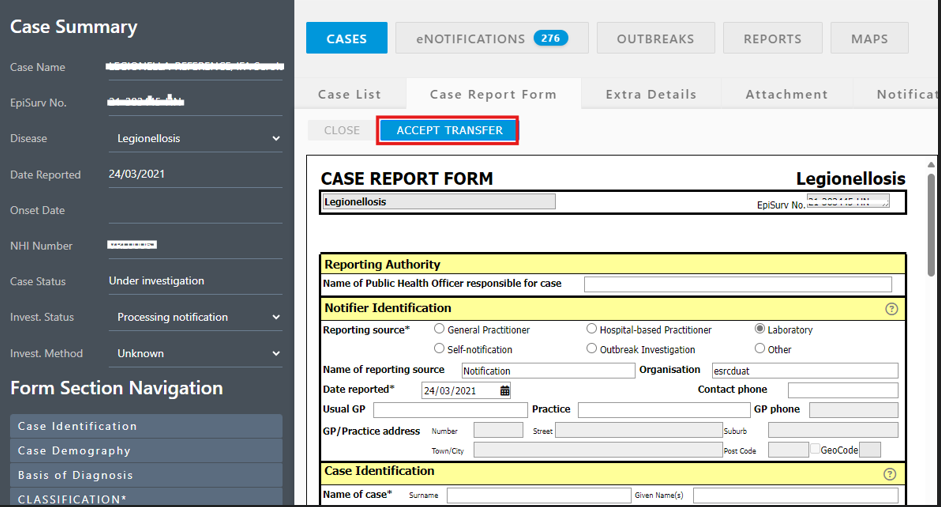
The user will be able to open a case from the transfer list but cannot save any edits until the case has been accepted for transfer (i.e. ownership) to their own office.
To accept a case transfer, the user must click the ACCEPT TRANSFER button (above the opened CRF). After transfer, the case will be associated with the PHS Office of the user. The case will no longer appear in the Transfers tab or in the Case List of the original PHS Office. The accepted case will now be found in the Case List of the receiving PHS Office.
To transfer a case to another PHS the user must complete three steps before the receiving PHS can accept the transfer.
Cases must be geocoded to a Current address within another PHS area. The user can search outside of the PHS area by clicking the National Search tick box in the GeoCode window.
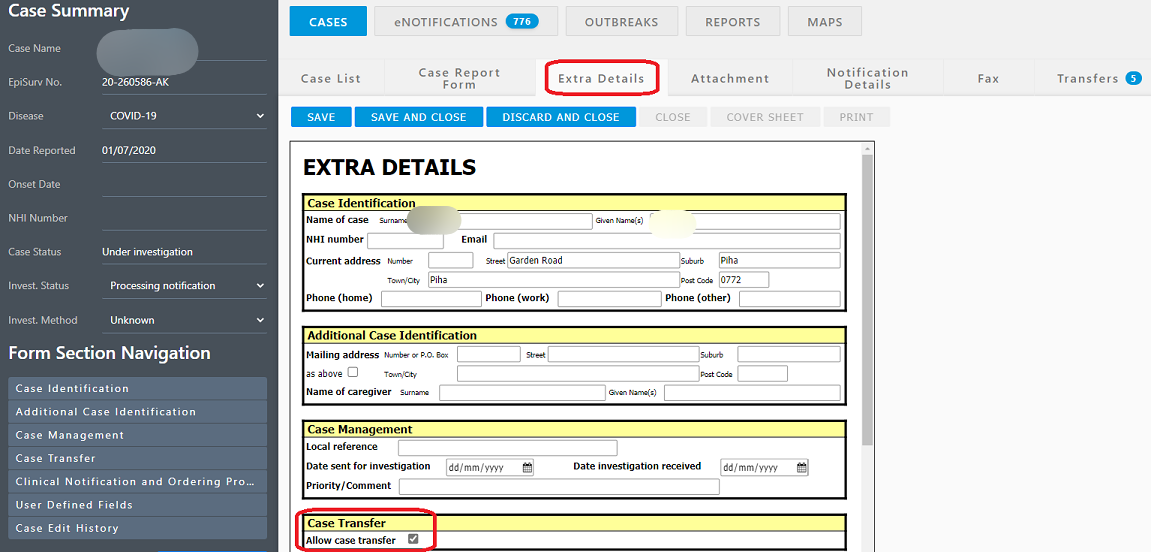
The user must enable the Allow Case Transfer tick box which is found in the Case Transfer section of the Extra Details.
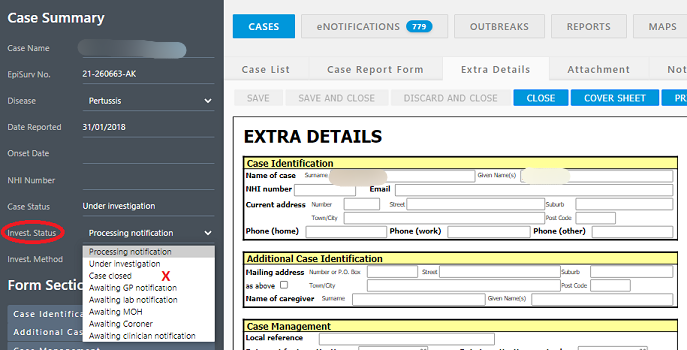
The user must ensure the Investigation Status category is not Case Closed.
The user can select the “Cases … inside another PHS” search option in the Transferred Case Search panel. The user must click the SEARCH button located at the bottom of the panel to display cases that have been sent from the user’s PHS Office to another PHS.
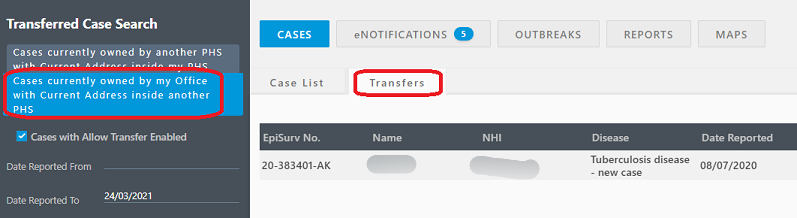
Note: The user can untick the Cases with Allow Transfer Enabled search option to display cases with an address geocoded to their Office where the sending PHS has not allowed case transfer.